|
The Floor So, you've found land and claimed it, like an explorer planting the flag. Now it's time to build a home for yourself. Let's start with the floor. Select the piece of grass in the very center of your plot of land, tap Insert once to copy it, and move it back towards you one click by tapping the down arrow on your number pad. You now have two pieces of grass in the same place. This is a good example of an overlap, by the way -- move around the area and you'll see that spot flickering as AW struggles to figure out which piece of grass it should be showing. The flicker will be much more noticeable if you're using software rendering, but that doesn't mean that users with nice video cards can get sloppy. Leaving overlaps in your builds because they look okay to you is just lazy, not to mention the fact that it's impolite to any software-rendering users who might come view your build. Also, they degrade the performance of the browser, making areas lag more than they might otherwise. The overlap will also be more noticeable if the two pieces of grass aren't quite aligned perfectly. Anyway, Let's fix that overlap. Right click on the overlap so that one of the pieces of grass is selected; it doesn't matter which one you select. Now tap the + key on your number pad to move the grass up one click. It's the same as if you were going to fly up, but when you have an object selected, it moves the object instead of you. Now one piece of grass is hovering in midair above the other. Let's change the piece in the air into something easier to see. Select it and type in "walk009" instead of "walk029h." You should wind up with a square of stone floor that looks like this:
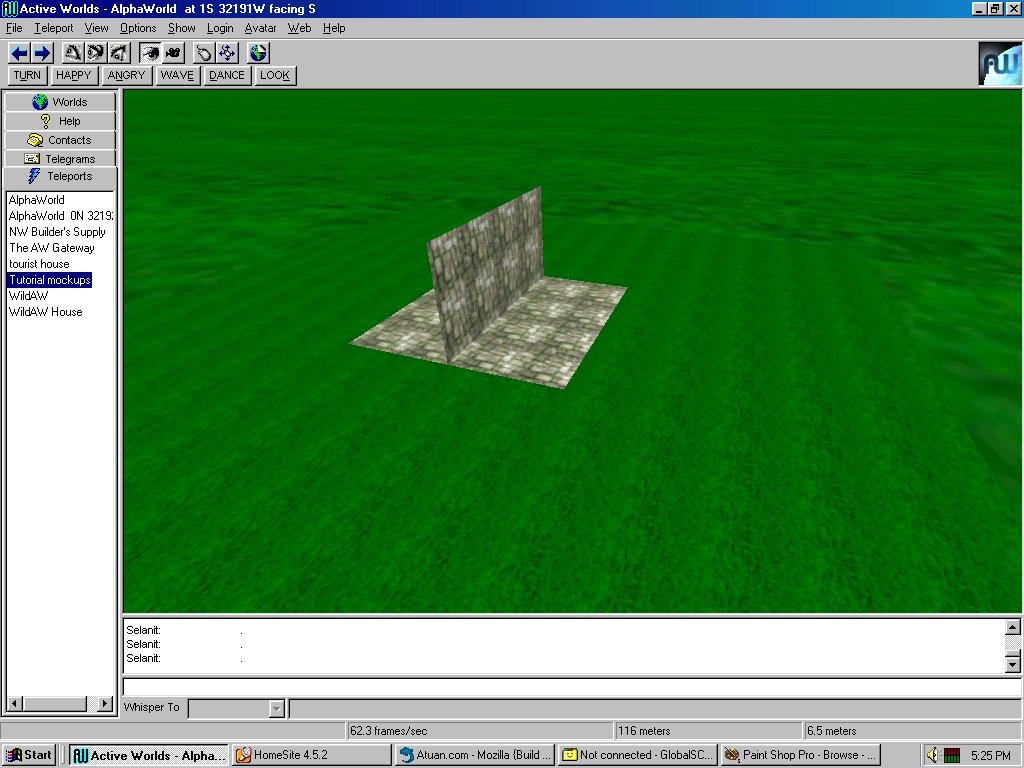
It looks a little odd to have a chunk of floor hovering up off the ground. So, let's add some sides, and make it a low platform. Select the floor, copy with Insert, move back one click with 2 on the numberpad. Now you have second copy of the floor. Change the new copy into "pp09m" -- don't forget that you need to have ".rwx" on the end. Now you'll have something that looks like this:
Now select that panel in the middle, and move it over to the side. It should take 8 clicks to move it over to the edge of the floor. Then move it down so the top of the panel is flush with the edge of the floor; press "-" on the numberpad to move it down. You should have something that looks like this:
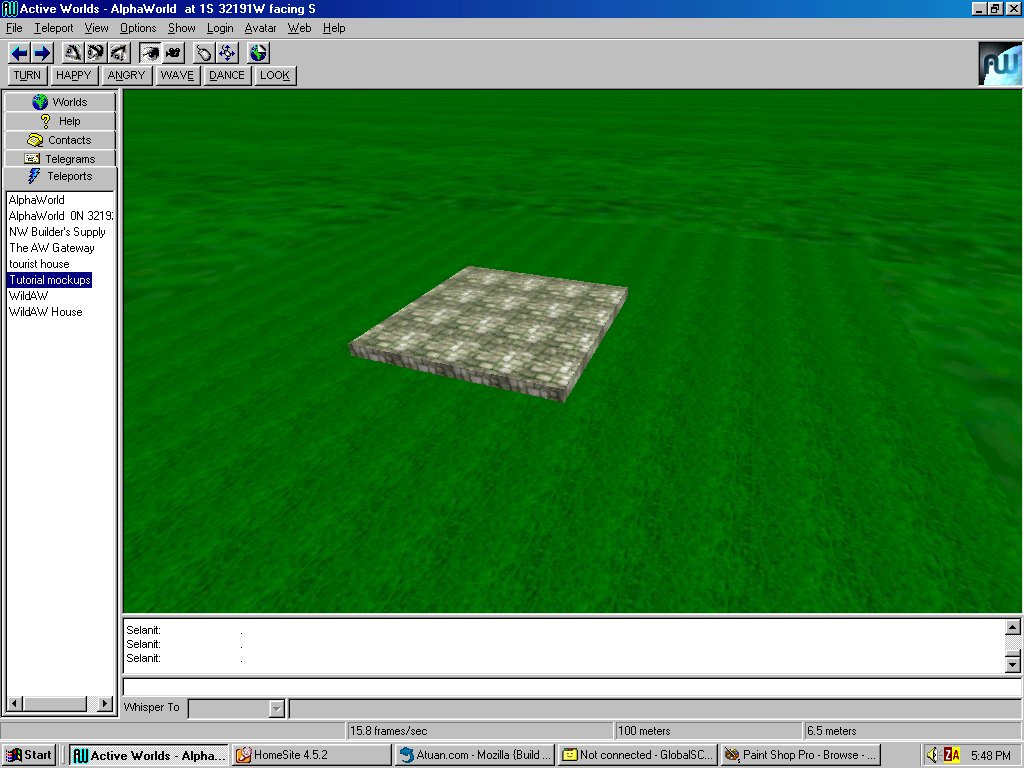
I have left the panel selected in the picture. See the yellow outline? You can see the full outline of a selected object, even when parts of it are hidden behind other objects. In this case, the panel sticks up above the surface one click, and the rest of it is underground. That's one side of the platform, but you'll need three more. Just copy the existing panel and move the copies into position around the floor. You will need to rotate two of the panels by 90 degrees (one quarter of a full turn) so that they will line up with the other edges of the square floor. You can rotate an object by selecting it and then pressing PageUp or PageDown (9 or 3 on the numberpad; remember that you need numlock off to use the numberpad properly in AW). Tap the rotate key 6 times in order to spin the object 90 degrees. 12 times will make a 180 degree turn, 18 turns it 270 (three quarters of a full turn) and 24 will turn it completely around. Sometimes it's fun to just select an object, hold the rotate key down and watch it spin in circles. :-) Once you've put in sides for the floor platform, you should have something that looks like the very top of a buried cube sticking out of the ground, like this:
Okay, there's the foundation of your house. Now for the walls. |
||
|