|
Textures & Pictures So far what we've done is use generic objects to create a house. We haven't changed them at all. Before we finish, you should learn about textures and pictures. Currently, there is no ceiling inside your house. Select the floor, copy it, move it back one click, and then move it upwards 8 clicks. Now you have a ceiling. From below, though, that stone floor looks like a chunk of solid grey. We can fix this by putting a new texture onto the object. Textures are what make that stone floor look like stone; and almost any texture can be applied to almost any object. When a texture is applied to an object, it shows up on all sides of the object, including the bottom. A reasonable texture for this one would be some kind of wood. There are several wood textures available. Probably the best for this case would be the texture called "woodflor." To apply a texture, select the stone ceiling. In the "Action" box of the Object Properties dialog, type in "create texture woodflor" like this:
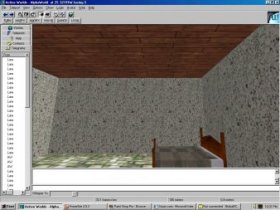
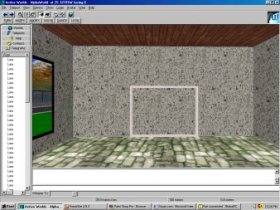
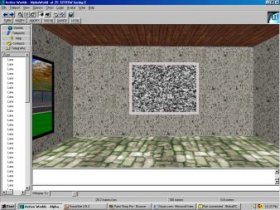
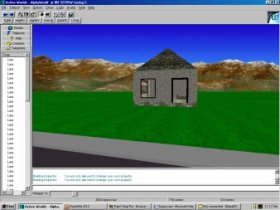
Let's examine this command. The "Action" area is where you type commands that affect the object. The first word, "create" is a trigger that tells AW that the command should be performed as soon as the object is loaded. There are two other triggers: "bump" which performs its command when somebody bumps into it, and "activate," which does its thing when somebody clicks on the object. The second word "texture" is the command, and the third word is the command's argument, telling it which texture to load. All in all, "create texture xyz" means "As soon as this object is loaded by a user's copy of AW, switch its texture to xyz." So, back to our house. When you've typed the command into the Action box, press Enter (or Return) and the new texture will be applied. Now your house has a ceiling that looks like this: Back to the interior decoration. These walls are pretty bare -- let's liven them up with a picture. Select a wall, and copy it. Move the copy back so it's in the same position as the wall. Now turn the copy into "pict1" and de-select it. Now you've got a picture frame stuck in the wall, like this: If you see a big white rectangle instead of a frame, that just means you're looking at the back side of the picture frame. Rotate it 12 clicks (180 degrees) and you'll see the front like in this screenshot. Right now, the frame is stuck inside of a wall. Obviously this isn't the best place for it, so let's move it forward a bit. You don't want to move it a full click away from the wall, because then it would be hanging suspended in midair. What you should do in this case is hold down the Shift key as you move the object. Holding down Shift lets you make smaller adjustments to the position of an object. You can also hold down Control AND Shift at the same time, and make positively tiny adjustments. Shift+Arrow alone moves the object 1/10th of a click for each movement. Shift+Control+Arrow moves the object 1/50th of a click for each movement. Just move it towards yourself two or three times while holding down Shift. Then move it up two full clicks. You should now have a picture frame showing static hanging on your wall, like this: Now we're going to make it show a picture. Select the picture, and type "create picture tnlc.com/images/artnimbus.jpg" into the Action box, like this:
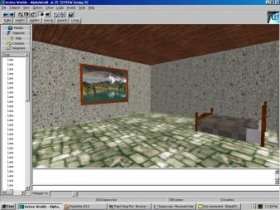
When you de-select the picture, it should show a mountain lake with a rainbow overhead. You can use any .jpg file which is stored on the web. The command is "create picture yourdomain.com/yourdirectory/yourpicture.jpg". The picture must be a .jpg; a .gif won't work. The picture will be resized to fit the picture frame, so if a picture comes out looking "stretched" that's why. The .jpg files have to be downloaded across the Internet, so you should try to keep the file size as small as possible. Reducing the dimensions of the picture is one good way to reduce file size; another way is to reduce the color depth. (EG use 256 colors instead of 16 million.) If a picture is too large, people might just walk away before it ever finishes loading. You can't use the "create picture" command on all objects, only a special few. You can see a display of all the objects that support "create picture" at 23629.6N 23445.4W 0.6a 90. Thanks to Lara, who put together the display! On one final note, you can use multiple commands on one object. That picture frame is a pretty ugly white by default. Let's change it by adding ", texture wood5" to the Action box of the picture. So the full command set is: "create picture tnlc.com/images/artnimbus.jpg, texture wood5". Notice that the command are separated by a comma, and you don't have to say "create" more than once. And the final product should look something like this: That covers all of the most important basic building techniques. The next page covers where to go to learn more -- it's important, so don't skip it. |
||
|

